

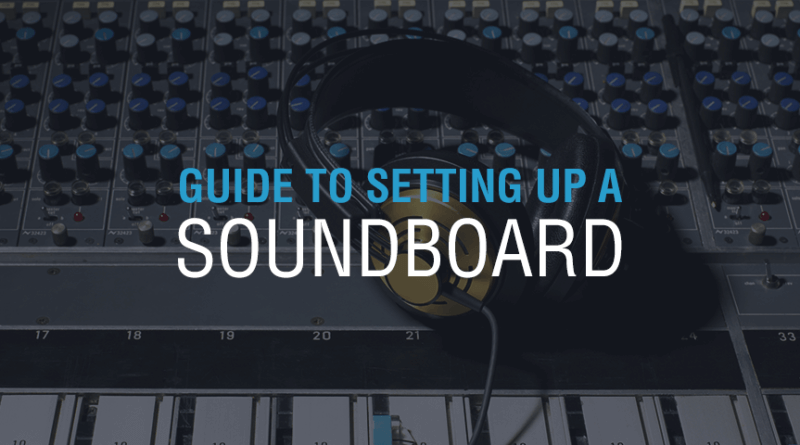
Whether you’re controlling the sound output for a concert venue or running a podcast, a soundboard is an essential tool to have. While they come in various sizes and complexities, all soundboards achieve the same basic purpose — they filter sound input into specific channels and alter those channels to produce the best audio results.
Once you get the hang of using a soundboard, it isn’t complicated. But to start using it, you have to understand how it works and know how to set it up. This guide will show you how.
How a Soundboard Works
Before learning how to hook up a soundboard, you need to have a grasp on how it carries out its primary function. This essentially involves tracing the sound signal’s path as it moves through the mixer. While many soundboards are much more intricate than this, here is an overview of the basic elements.
Sound Source
The sound originates from an external source, be it a speaker or an instrument. In the case of a singer or speaker, you have to use a microphone to record the audio. For many instruments, you can hook a cable directly into the instrument itself.
In any case, the sound signal is digitized and transferred through a cable, which feeds into your soundboard. The cable connects to the soundboard’s input jack. The soundboard will typically have multiple input jacks, enabling you to plug in numerous sound sources and create different channels.
Gain
As the sound enters the soundboard — usually at the top — it moves down in a straight line, meeting with several controls along the way. The first of these controls is the gain, which determines how much of the sound gets through. This aspect isn’t so much about volume as it is about sensitivity. A lower gain will cause only the loudest and most exposed sounds to pass through, whereas a high gain will let nearly everything through.
Fader and Aux
After the gain is the controls for the fader and auxiliary or aux. The fader is what adjusts the volume, making the final product louder or softer. The adjusted sound then exits the output jack and goes through the cable to the speakers.
The aux, however, is different from the other controls. It transfers the sound to other output locations before it goes out the main output jack. For example, if you wanted to send the sound from only one channel to a pair of headphones so you could hear that channel in isolation from the others, you could use the aux to do that.
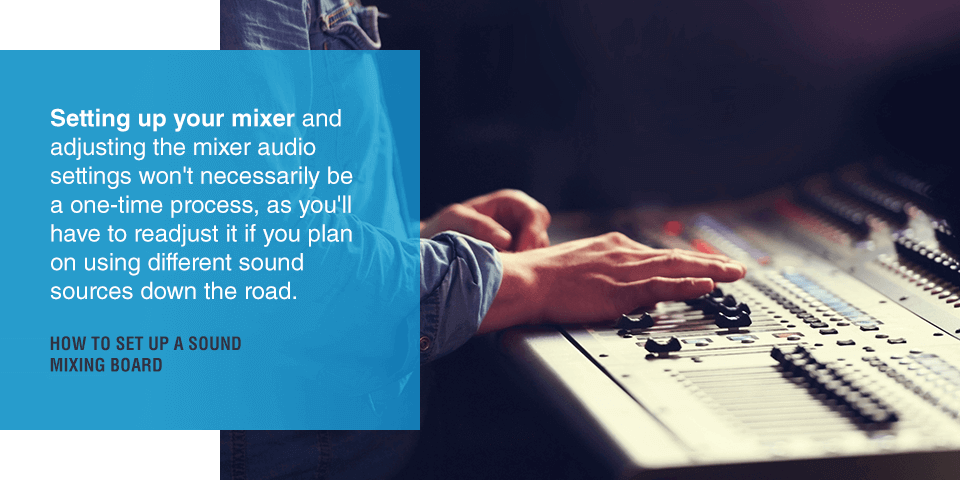
How to Set Up a Sound Mixing Board
Once you understand how your soundboard works, you can implement the basic audio mixer setup process. This will get the soundboard ready for you to use for your concert, podcast or recording session.
Setting up your mixer and adjusting the mixer audio settings won’t necessarily be a one-time process, as you’ll have to readjust it if you plan on using different sound sources down the road. But by that time, you’ll hopefully know what you’re doing well enough to repeat the process with ease. In the meantime, here are the main audio mixer setup steps to follow.
Choose a Location
The first thing to do is to decide where your soundboard will sit. It might seem arbitrary, but where you put your mixer matters. To start, you have to consider physical limitations. Your audio cables will only reach so far, so you have to position the mixer close enough for it to connect to both the sound sources and the speakers — or get longer cables.
You also might need to think about where the sound is being projected. If you have a headphone jack on your mixer, you can listen to the output that way. But if you want to hear the sound coming out of the speakers, make sure you place the soundboard somewhere you can easily do that from.
Plug In Equipment
Once you’ve positioned your soundboard, do the same for your equipment. Arrange the speakers, microphones and instruments where you want them, ensuring that your setup works. You don’t want to adjust the sound levels only to have to reposition everything later, which might force you to start over.
With that done, hook everything up to your soundboard. Plug your sound sources into the input jacks and the speakers into the outputs. If you’re using any amps, plug them into the output jacks as well.
If you have several different sound sources, there’s one more thing you should do during this step. Create masking tape labels for each channel on your soundboard with the name of the source that’s plugged into that channel. This basic audio mixer setup will allow you to see which microphone or instrument you’re adjusting with which controls.
Adjust Sound Levels
With everything connected, you can finally start adjusting the controls on the soundboard itself. Start by turning all the dials down to zero or to the unity mark for those applicable. Then power on all your equipment and begin running some tests.
Speak into the microphone or play notes on the instruments and watch the soundboard. The board should have audio meters of some kind to indicate sound level, and this will tell you how to adjust the controls. If you have a microphone plugged into Channel 1, speak or sing into it using the volume level you plan to use normally. Vary your voice to account for times when you’ll grow a bit louder.
As you generate sound, move the gain up as needed. You want the audio meter to be arranged so that your loudest sounds activate the “zero” light. This sign indicates that the sound isn’t too loud or soft. Repeat this process for each channel until they’re all where you want them. Once they’re all set at the right level, your soundboard is fully operational.
You’ll need to repeat this process for each new source you plug in, so if you don’t always use the same sound sources, you may have to do this a lot. Since the whole purpose of the soundboard is to tweak the sound volume and quality to find the best sound mixer settings, you’ll be making more adjustments down the road. But this procedure will get you to a solid starting point from which you can launch into the fine-tuning.
Get Soundboard Equipment From Record Head
Now that you know how to set up a soundboard, you’re ready to start recording. But what if you’re still looking for a good soundboard or other necessary audio equipment to go with it?
Record Head has you covered. We offer a wide variety of new and used sound equipment at competitive prices, and we also enable you to sell your old equipment if you want to get some pieces off your hands. To get started or find out more information about the products we have available, get in touch with us today!
-
Related Posts
 Do I Need to Move to Find Success as a DJ?
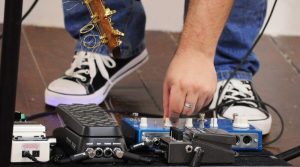 Top Guitar Effect Pedals for Beginners
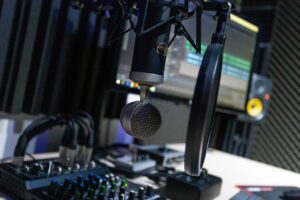 Essentials for a Home Studio
 10 Songs to Test Your Speakers
 10 Best Keyboardists of All Time
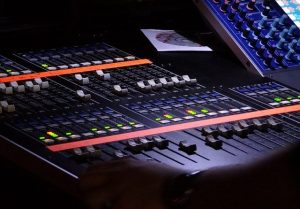 What Are the Best EQ Settings for Perfect Sound?
 How to Choose the Best Used Amp for Your Guitar
 What Equipment Do You Need to Start a Band?